.png?width=200&height=90&name=logo-edist%20(1).png)
Completing the CNEX Portal Setup:
These are to be preformed with the customer's admin login.
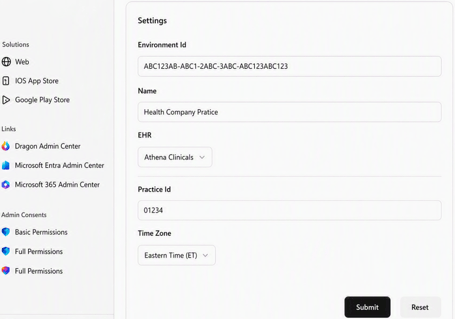
Please note that the settings fields shown in the screenshots are dynamic and may change according to the chosen EHR platform.
Clinical Note Exchange Web App URL:
http://cnex.clinicallyspearking.com/
1) Verify and update any settings info for their EHR.
- Environment Id should match the Dragon Admin Center's environment ID.
- Access Token will auto populate
- Access Token will auto populate
- Name should match customer's Microsoft Tenant Organization Name.
- Confirm Time Zone
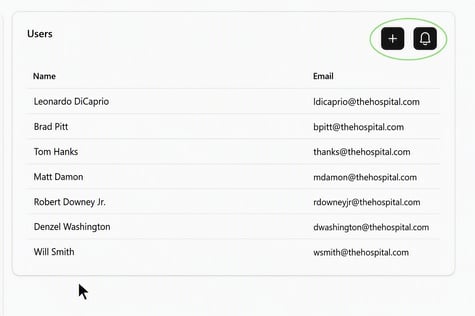
2) On the right, add users who will be using CNEX.
-
Add Users manually through + icon or via Entra mapping via Blue icon
You may see a eDist user and email in this section.
This is done by default and does not provide us access to their CNEX portal.
Customer may delete the user entry.
3) Download Clinical Kit
-
Under Settings, click Download Clinical Kit
4) Import Clinical Kit
-
Import Clinical Kit into AthenaPractice